How to adjust the flow direction in a Warp Beam Dyeing Machine?
Aug 14, 2025
Hey there! As a supplier of Warp Beam Dyeing Machines, I've had my fair share of experiences with these nifty pieces of equipment. One of the most common questions I get from customers is how to adjust the flow direction in a Warp Beam Dyeing Machine. So, I thought I'd write this blog to share some tips and insights on the topic.
Understanding the Basics of Flow Direction in a Warp Beam Dyeing Machine
Before we dive into how to adjust the flow direction, let's first understand why it's important. In a Warp Beam Dyeing Machine, the flow direction of the dye liquor plays a crucial role in ensuring uniform dyeing of the fabric. The dye liquor needs to flow through the warp beam in a way that it reaches every part of the fabric evenly. If the flow direction is not adjusted properly, it can lead to uneven dyeing, which is a big no - no in the textile industry.

There are generally two main flow directions in a Warp Beam Dyeing Machine: in - to - out and out - to - in. In the in - to - out flow direction, the dye liquor enters the center of the warp beam and flows outwards towards the periphery. On the other hand, in the out - to - in flow direction, the dye liquor starts from the outside of the warp beam and moves towards the center.
Tools and Equipment Needed
To adjust the flow direction in a Warp Beam Dyeing Machine, you'll need a few basic tools. These include a set of wrenches, a flow meter to measure the flow rate, and a pressure gauge to monitor the pressure of the dye liquor. It's also a good idea to have a manual or an operating guide for your specific machine handy, as different models may have slightly different adjustment procedures.
Step - by - Step Guide to Adjusting the Flow Direction
Step 1: Prepare the Machine
First things first, make sure the machine is turned off and cooled down if it was recently in use. Safety is always the top priority. You don't want to get burned or injured while making adjustments. Check for any visible signs of damage or wear on the pipes, valves, and other components related to the flow system.
Step 2: Locate the Flow Control Valves
The flow control valves are the key to adjusting the flow direction. In most Warp Beam Dyeing Machines, these valves are located near the dye liquor inlet and outlet. They are usually marked clearly, but if you're having trouble finding them, refer to your machine's manual.
Step 3: Determine the Desired Flow Direction
Based on the type of fabric you're dyeing and the dyeing process requirements, decide whether you need an in - to - out or out - to - in flow direction. For example, some delicate fabrics may require a gentler out - to - in flow to avoid damage, while more robust fabrics can handle an in - to - out flow for more efficient dye penetration.
Step 4: Adjust the Valves
Once you've decided on the flow direction, start adjusting the valves accordingly. If you want an in - to - out flow, close the valve that controls the out - to - in flow and open the valve for the in - to - out flow. Use your wrenches to make the necessary adjustments. Make sure to turn the valves slowly and steadily to avoid sudden changes in pressure.
Step 5: Check the Flow Rate and Pressure
After adjusting the valves, turn on the machine and let the dye liquor start flowing. Use the flow meter to check the flow rate. The ideal flow rate can vary depending on the machine and the fabric, but you can usually find the recommended range in the machine's manual. Also, use the pressure gauge to monitor the pressure. If the pressure is too high or too low, you may need to make further adjustments to the valves.
Step 6: Test the Dyeing Process
Before starting a full - scale dyeing process, it's a good idea to do a test run with a small sample of the fabric. This will help you determine if the flow direction adjustment has been successful. Check the dyed sample for any signs of uneven dyeing. If you notice any issues, go back and make further adjustments to the valves.
Common Problems and Solutions
Problem 1: Uneven Dyeing
As mentioned earlier, uneven dyeing is a common problem that can occur if the flow direction is not adjusted properly. If you notice uneven dyeing, first check the flow rate and pressure. It could be that the flow rate is too low in some areas or the pressure is inconsistent. You may need to adjust the valves further to ensure a more uniform flow.
Problem 2: Leakage
Leakage around the valves or pipes can also be a headache. If you notice any leaks, turn off the machine immediately. Check the seals and gaskets around the valves and pipes. If they are damaged, replace them. You can usually find replacement parts from the manufacturer or a reliable supplier.
Problem 3: Blockages
Blockages in the pipes or valves can disrupt the flow of the dye liquor. If you suspect a blockage, you may need to disassemble the relevant parts of the machine and clean them. Use a suitable cleaning solution to remove any debris or sediment that may be causing the blockage.
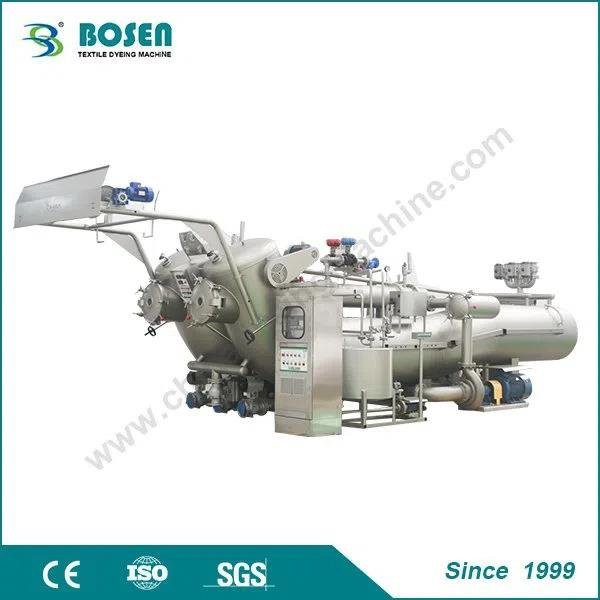
Our Warp Beam Dyeing Machine Offerings
At our company, we offer a range of high - quality Warp Beam Dyeing Machines, including the Soft Flow & Jet Flow High Temperature Dyeing Machine, the High Temperature Beam Dyeing Machine, and the HTHP Beam Dyeing Machine. These machines are designed with advanced technology to ensure efficient and uniform dyeing. They also come with easy - to - adjust flow control systems, making it simpler for you to get the perfect flow direction for your dyeing needs.
Contact Us for More Information
If you're in the market for a new Warp Beam Dyeing Machine or you have any questions about adjusting the flow direction, don't hesitate to reach out. We have a team of experts who are ready to assist you. Whether you're a small - scale textile business or a large - scale manufacturer, we can help you find the right machine and provide you with the support you need. Let's work together to achieve the best results in your dyeing processes.
References
- Textile Dyeing Machinery Handbook
- Manufacturer's Operating Guides for Warp Beam Dyeing Machines